Thursday, February 19, 2015

Double Exposed Portraits

Portrait photography is a photo of one specific person or a whole group of people that shows the expression, mood and personality of the person or group. It is usually of the persons face but may include the rest of the body in the background. Since a profile view is of a persons face only showing one side, it can relate to portrait photography because it is still a picture of someones face. Silhouetting is usually a person, object, animal etc. that is black or darkened so it becomes black and plain so the background stands out and causes that shadow look on the silhouette.
Double Exposures are created in Photoshop by you first start by loading the photos into a stack. Then you rotate, resize and crop the image. After that you do blend mode and you change it to screen. Then you change the color tone, and avoid "happy mistakes" or just work on the quality of it. Then you are done! You would want to make a Double Exposure because it makes your picture turn out amazing and also it's very creative. You would want to make this kind of artwork because, it just shows the true beauty of who you really are especially if your pictures in the background are of your life.
The symbolism in my two examples are of my life and my school. My practice one(the first one)
is pictures of the plants and trees at our school during a class session. Then the second photo example(my final one)has two photos. The first picture is of Hanakapiai falls which is located here on Kauai. It is my favorite place to hike and my favorite to swim under a waterfall. Then the second picture is of my backyard. I have a river and it leads all the way down to Kealia Beach on the East Side of Kauai. The quality of my worked could've improved in the layer effects part. I feel like I could have added more to it to make it look way more cool. Overall I think it turned out pretty good though.

Monday, February 9, 2015

HDR Photography

HDR photography, is a method that aims to add more dynamic range to photographs, where dynamic range is the ratio of light to dark in a photograph. Instead of just taking one photo, HDR uses three photos, taken at different exposures. What I like about HDR photography is that it can take up to seven photos with different exposures and take all of them and create a beautiful shot that really brings out the details of that place. There isn't really anything that I dislike about HDR, but one thing might be that when taking a picture of a crowded place or with movement, it tends to make the picture turn out bad.
When creating a HDR picture you start by finding a location where there are no people(so there is no movement). Then you start at the exposure of -3 and work your way up to +3 or if you want you can go from +3 to -3. Then you take the seven photos and merge them to HDR pro in Photoshop. Then you can edit the picture it creates! Whats different between HDR Photography and the automatic HDR functions is that the first one takes up to 7 photos ranging from light to dark, but when using just the automatic HDR it only takes one photo.
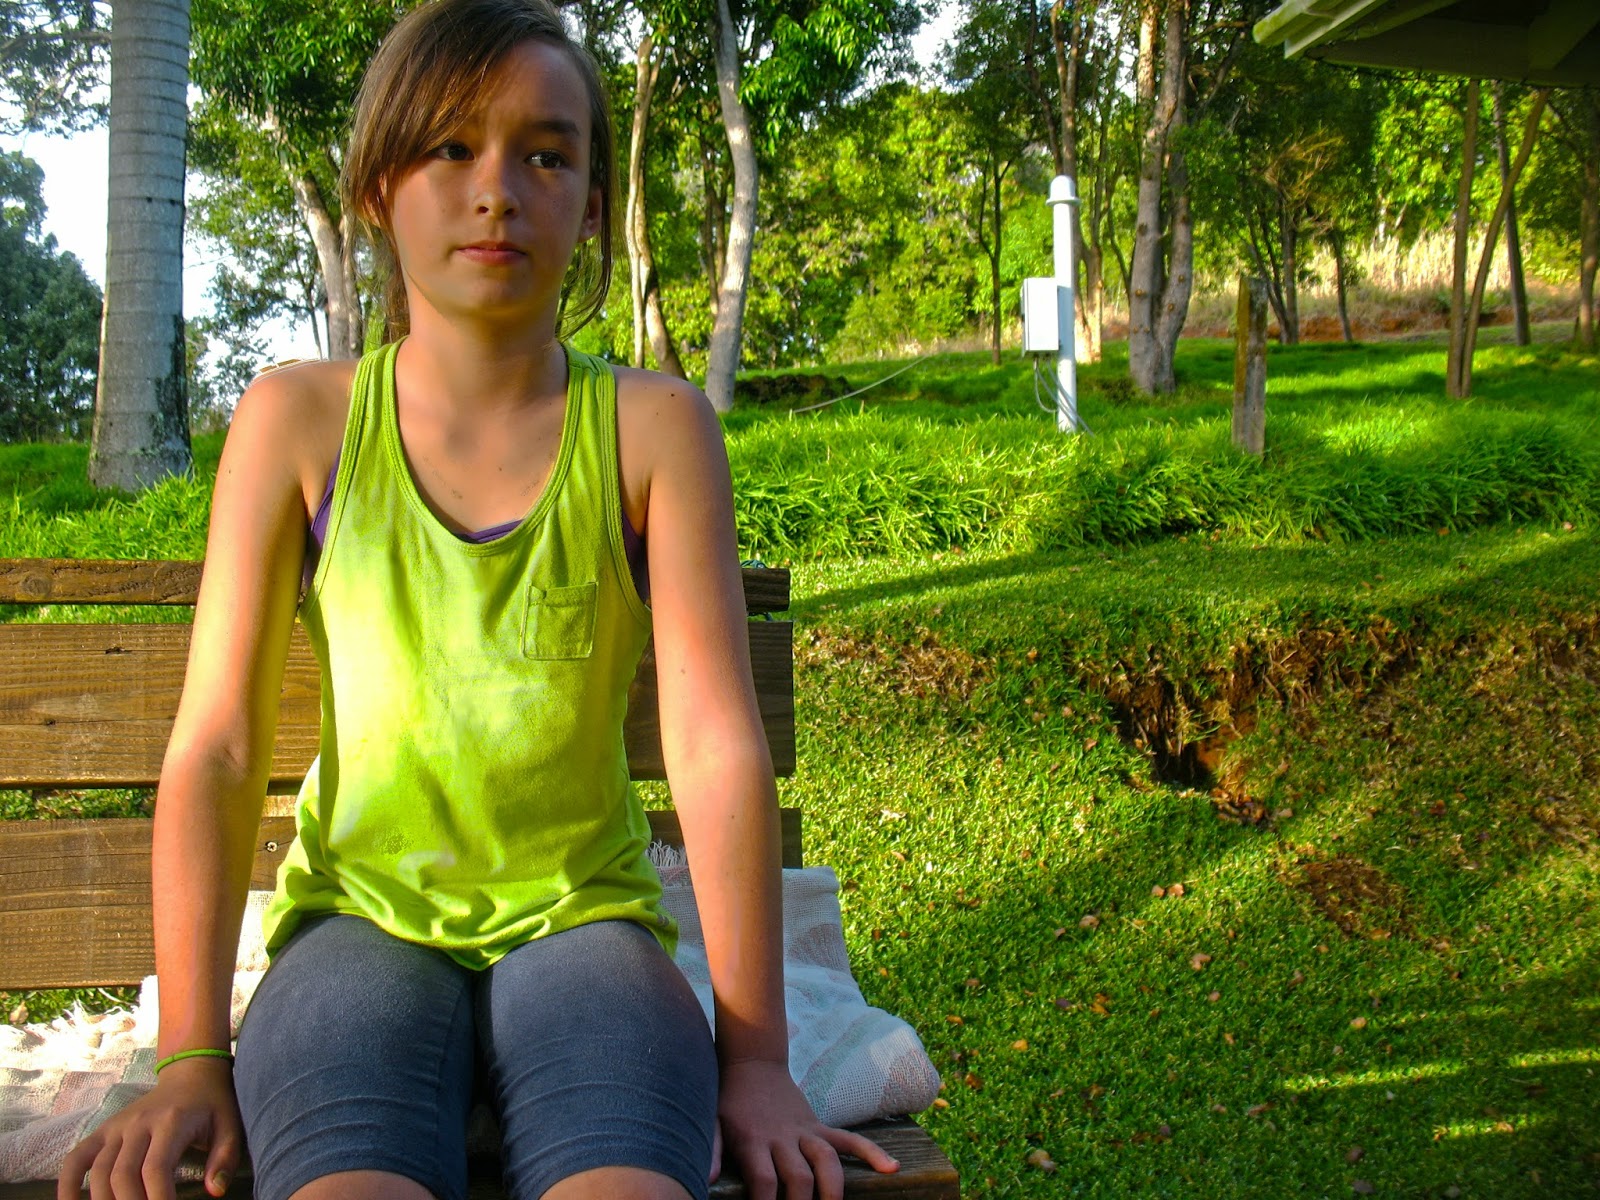
When I created the two HDR images, there was definitely a thought process to it. First I had to make sure that wherever I took this photo, it would be creative and also that there wouldn't be any people in my shot because of movement. Then I noticed that right after you take the first shot at -3 and you go to change it to -2, if you move the camera or the tripod just a little bit, it may mess up your HDR photo. Then when I was finished taking my seven photos, I went back to the classroom. I merged the photos to HDR Pro and started editing them, in Photoshop.